How to Make Scheduled Payments
Last updated: May 20, 2026
Plan ahead with scheduled payments on OneSafe. Set your payment date in advance and we’ll take care of sending it on time.
These are the steps on how to schedule a withdrawal on OneSafe:
1. Start a Transfer
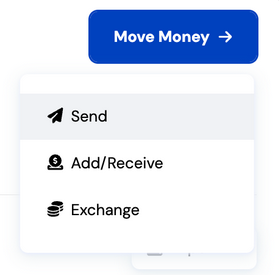
Click "Move Money" on your dashboard, then select "Send."
2. Select or Create a Recipient
You’ll be prompted to either:
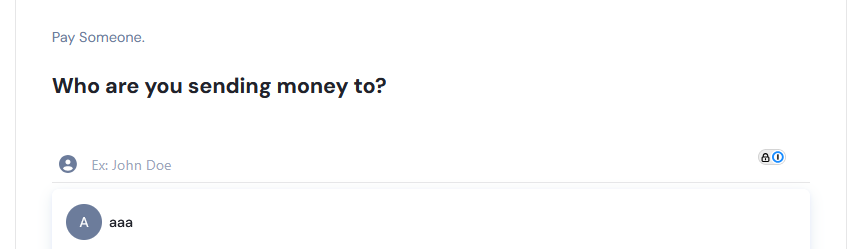
Search for an existing recipient, or
Select “Pay Someone New” to create a new recipient.
Address Type Setup
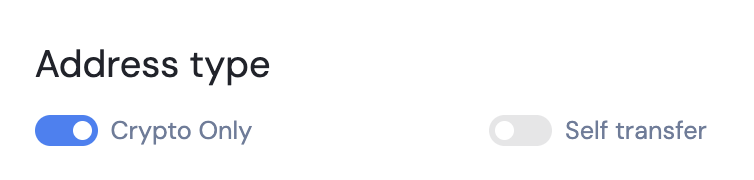
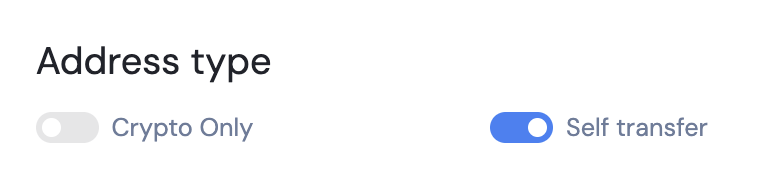
Using the toggle switches, select the appropriate address type and input the required recipient details.
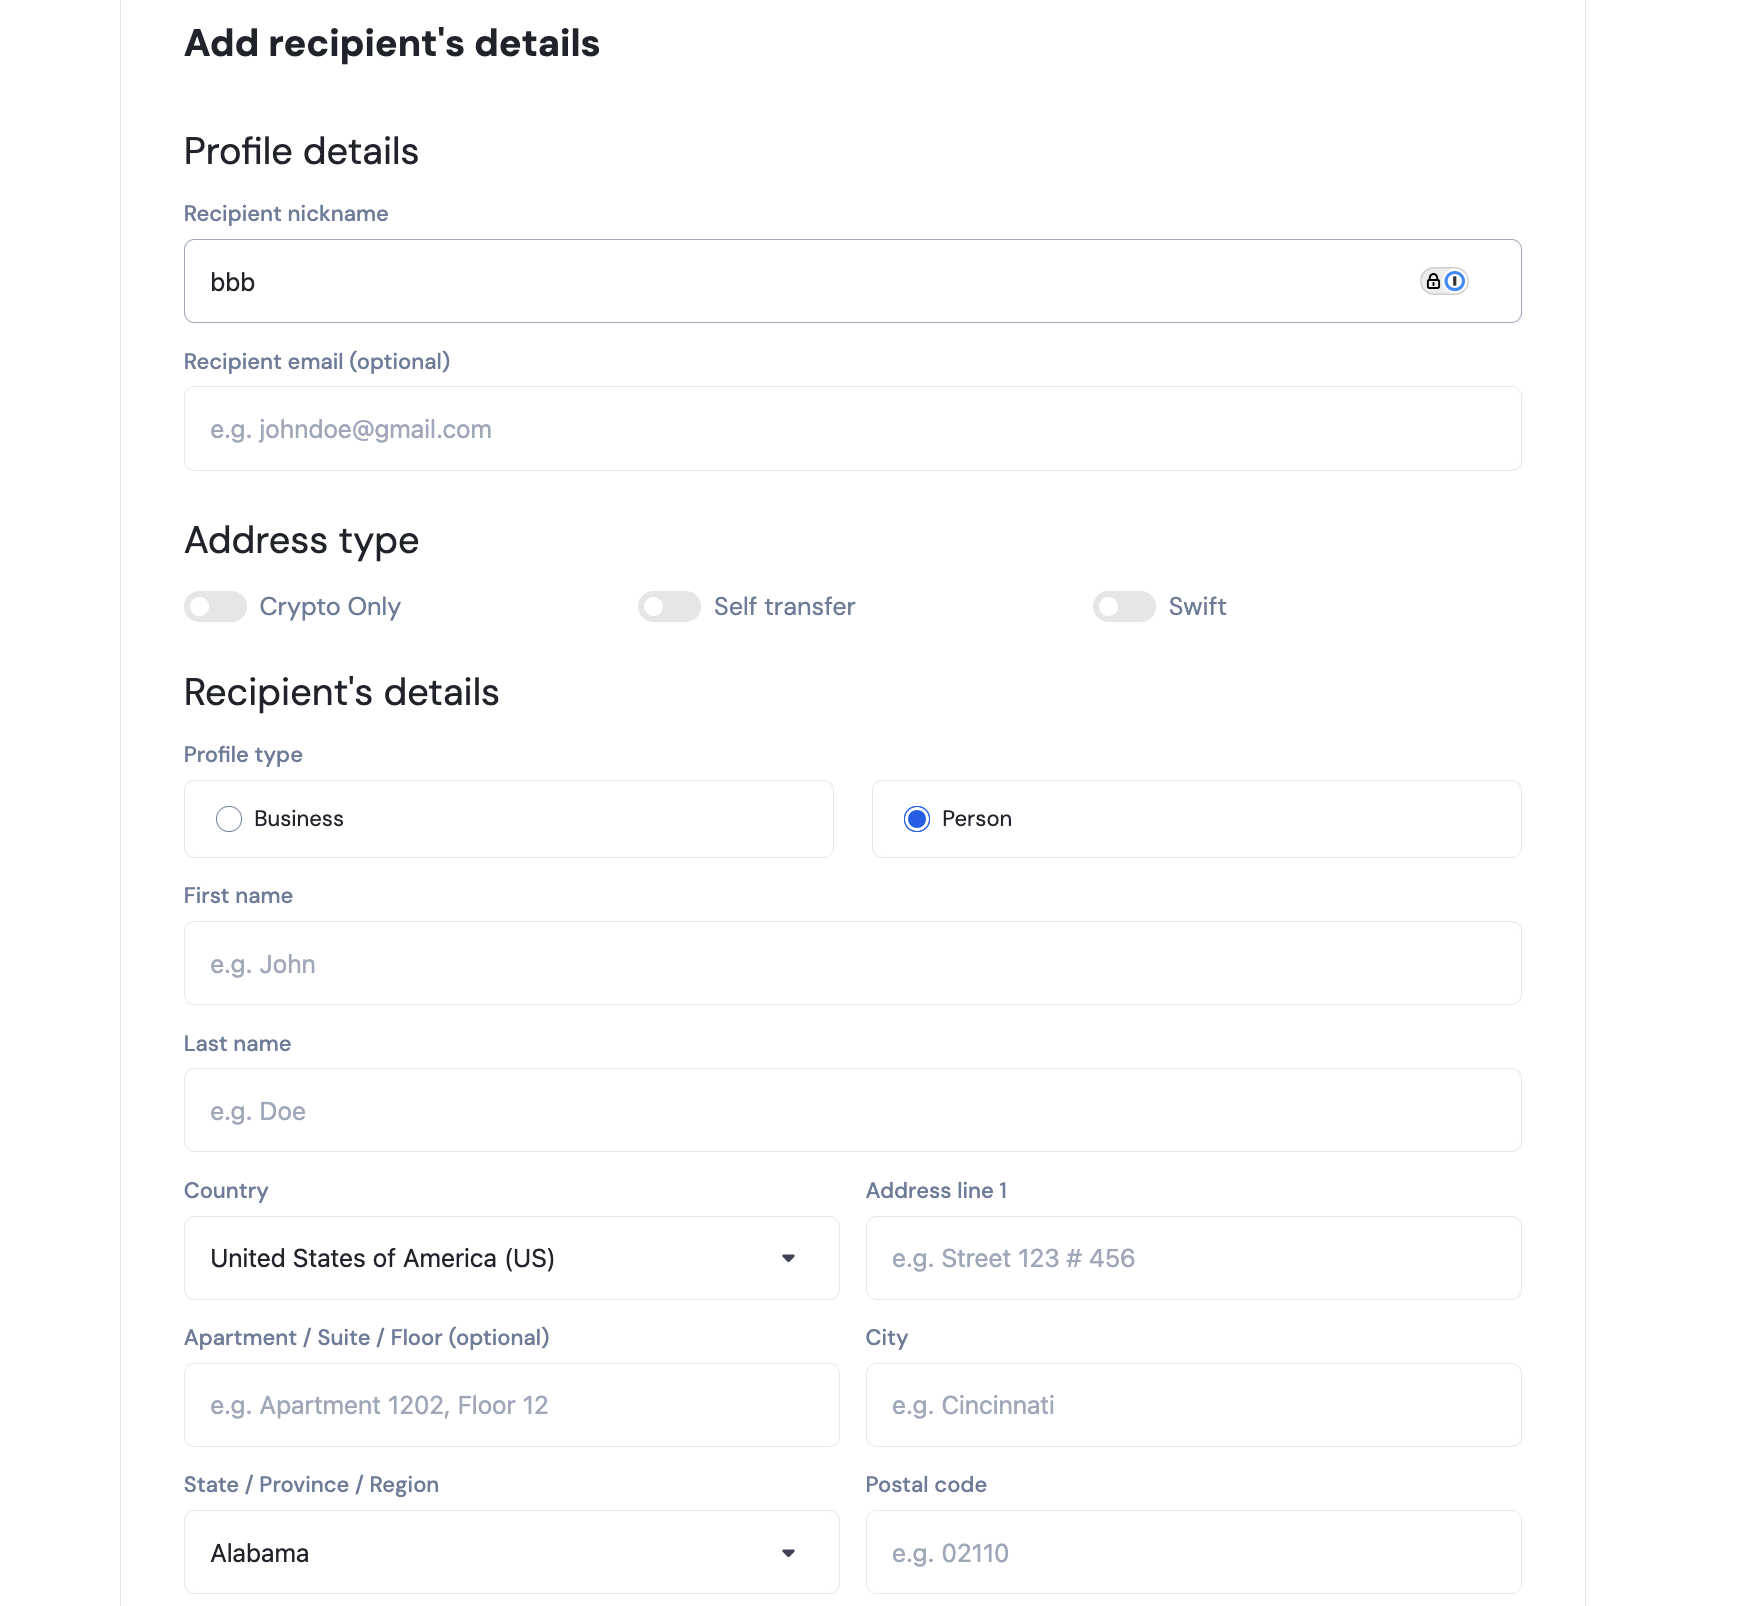
Address Type Options:
Enable self-transfer if the payment is an own account or first-party transfer. The beneficiary name must be exactly your company name. Otherwise, it would not be considered as an own account transfer.
No selection
Sets up basic details for for a Stables banking transfer (ACH, Wire, SEPA, SPEI, Pix, FPS, SWIFT*).
*upon request
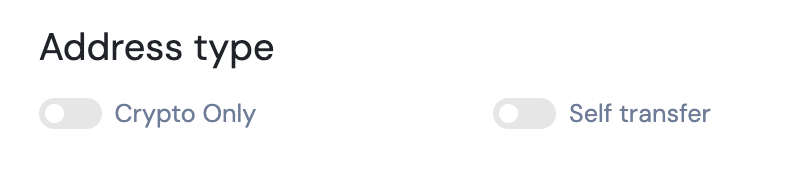
Crypto Only
Used when sending funds to crypto wallets exclusively.
Self transfer
Automatically fills the fields with your own details.
Once saved, recipient details cannot be modified, except for the nickname and email.
You can later add new banking or crypto network details by toggling the respective switches for the address type.
3. Choose a Payment Method & Enter Destination Details
After completing the recipient info, click "Next".
You’ll now be asked to choose a payment method.
ACH/Wire: For USD domestic transfers within the US
SWIFT: For international transfers or bank accounts with SWIFT deposit details
Local Currency Transfer (FX): For transfers via SEPA, FPS, Pix, SPEI)
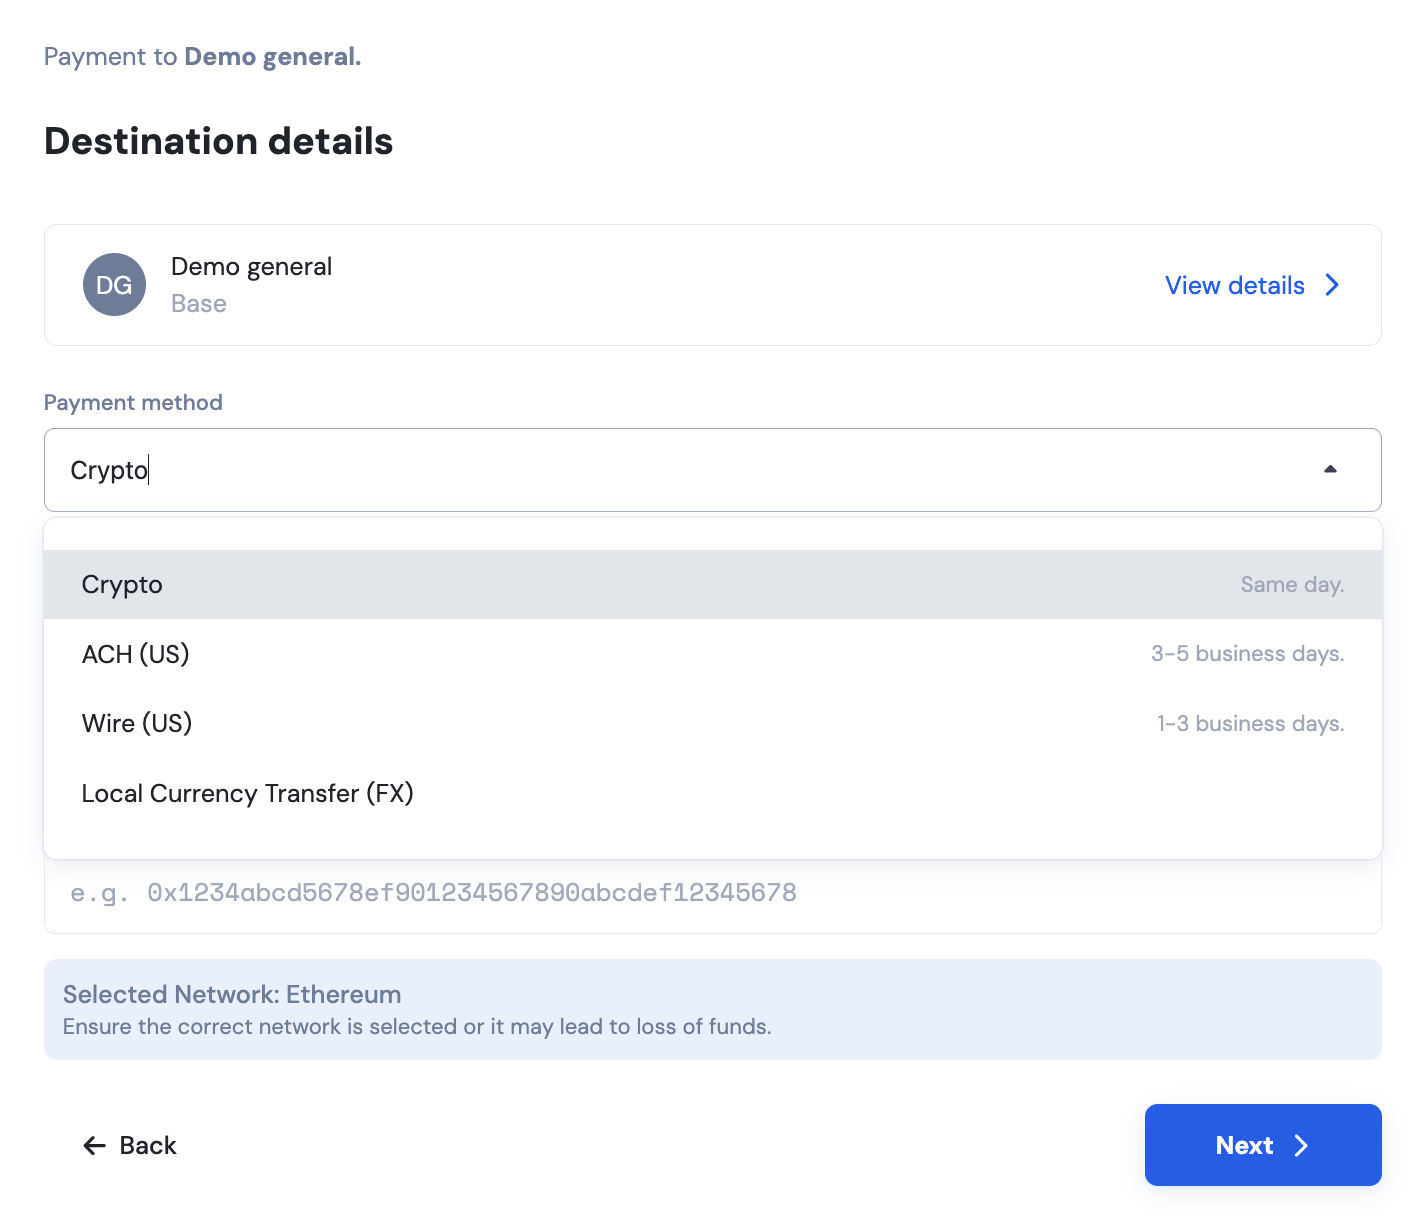
The options shown depend on the recipient's selected address type and the available payment methods linked to your account.
Input the destination account details and click "Next"
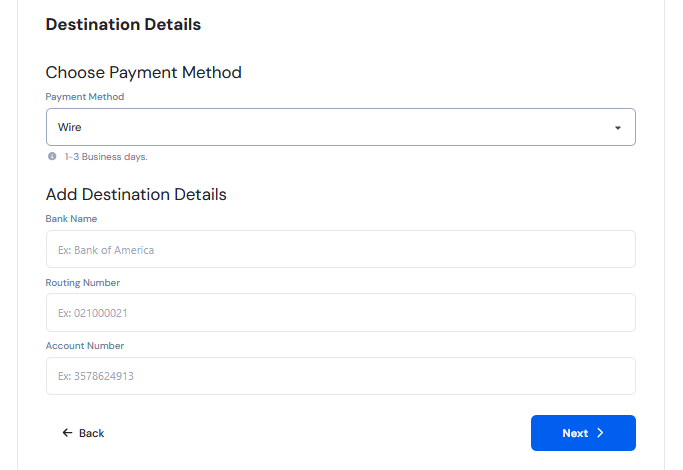
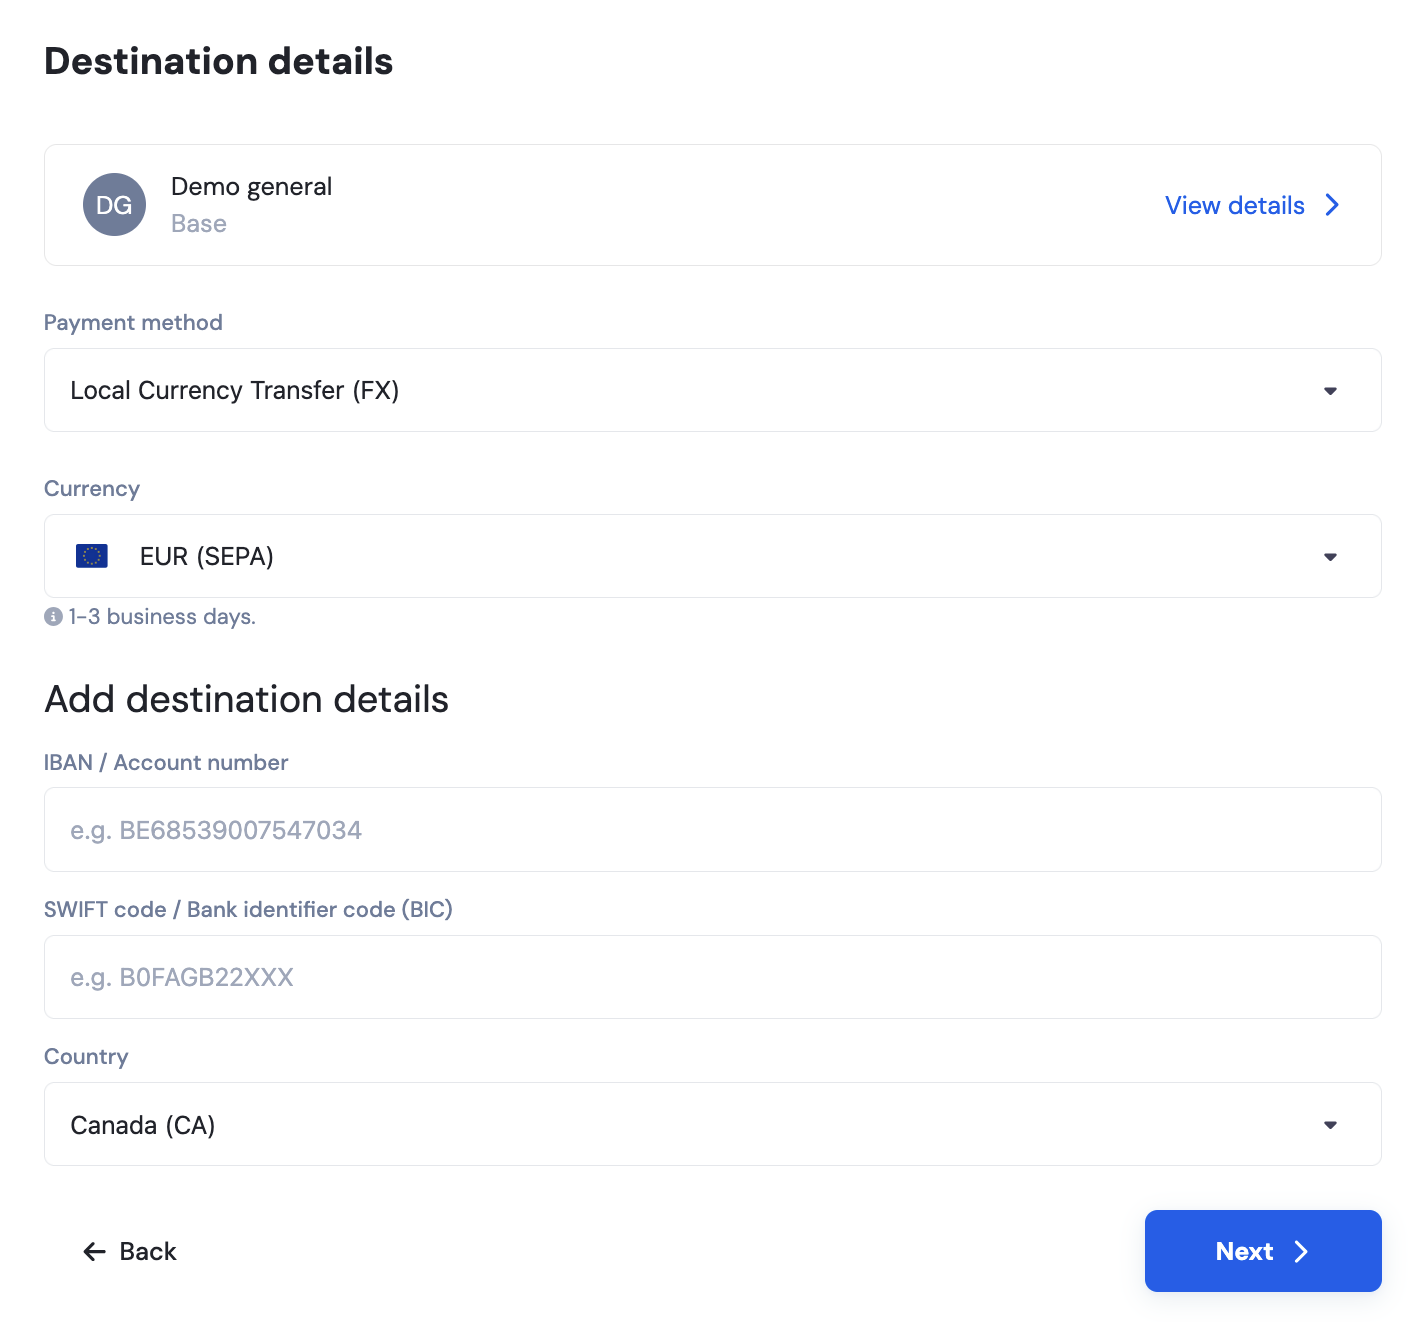
These details cannot be modified after you proceed past this step
4. Enter Transfer Details
Specify the amount you wish to send, select the account to fund the transfer, and select from calendar the date you wish to send the funds.
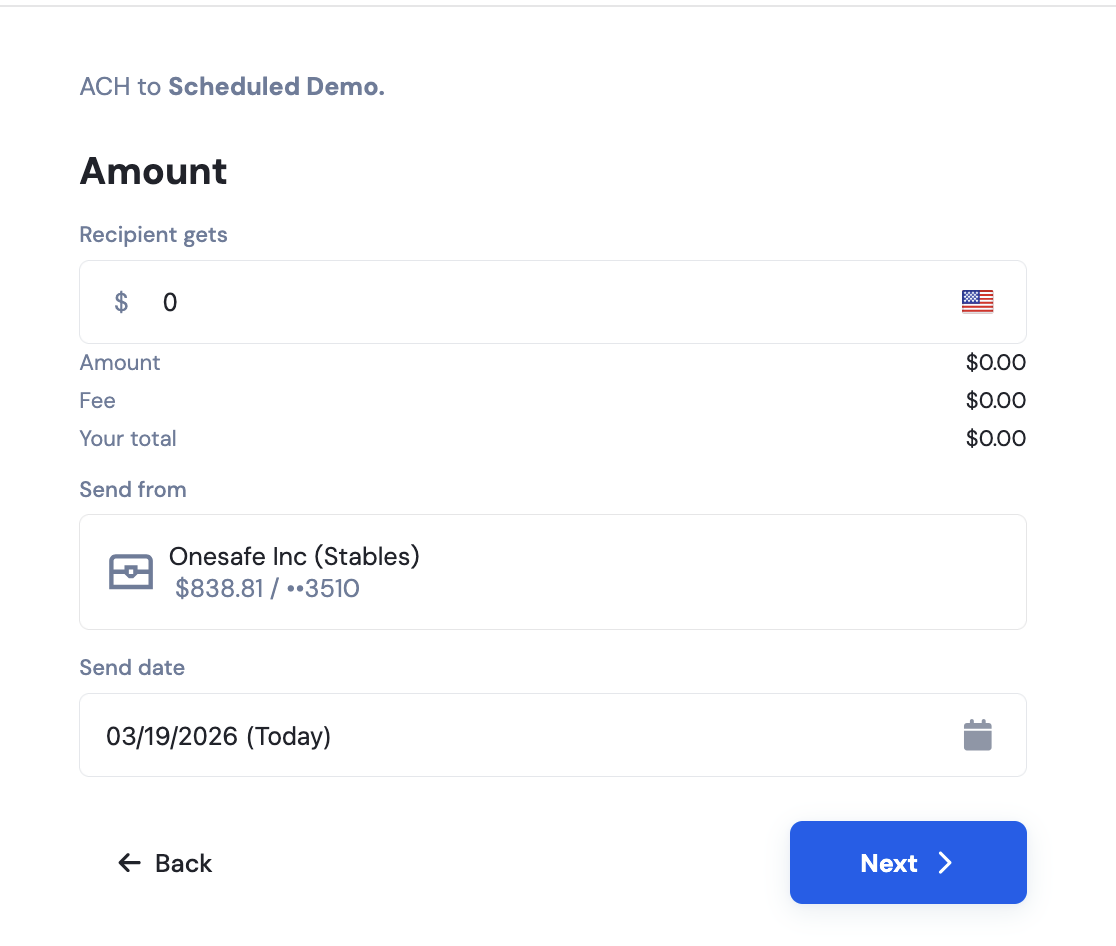
All dates are based on Coordinated Universal Time (UTC). Payments scheduled for a future date will be initiated at 2:00 PM UTC on the selected date.
5. Add Additional Information
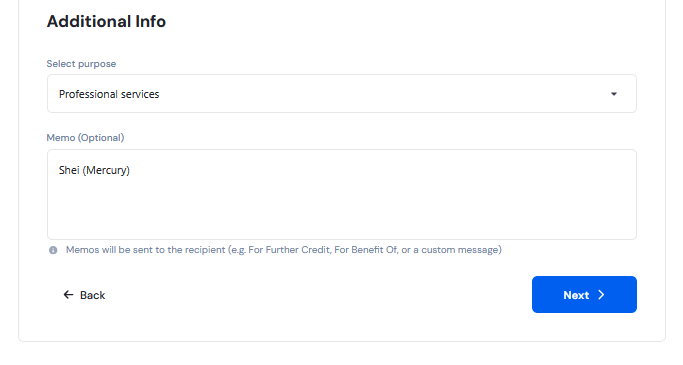
You may also add a memo reference for all transactions.
6. Review & Confirm
Review the transaction summary shown in the final screen.
If all details are correct, click "Submit Request" to complete your withdrawal.
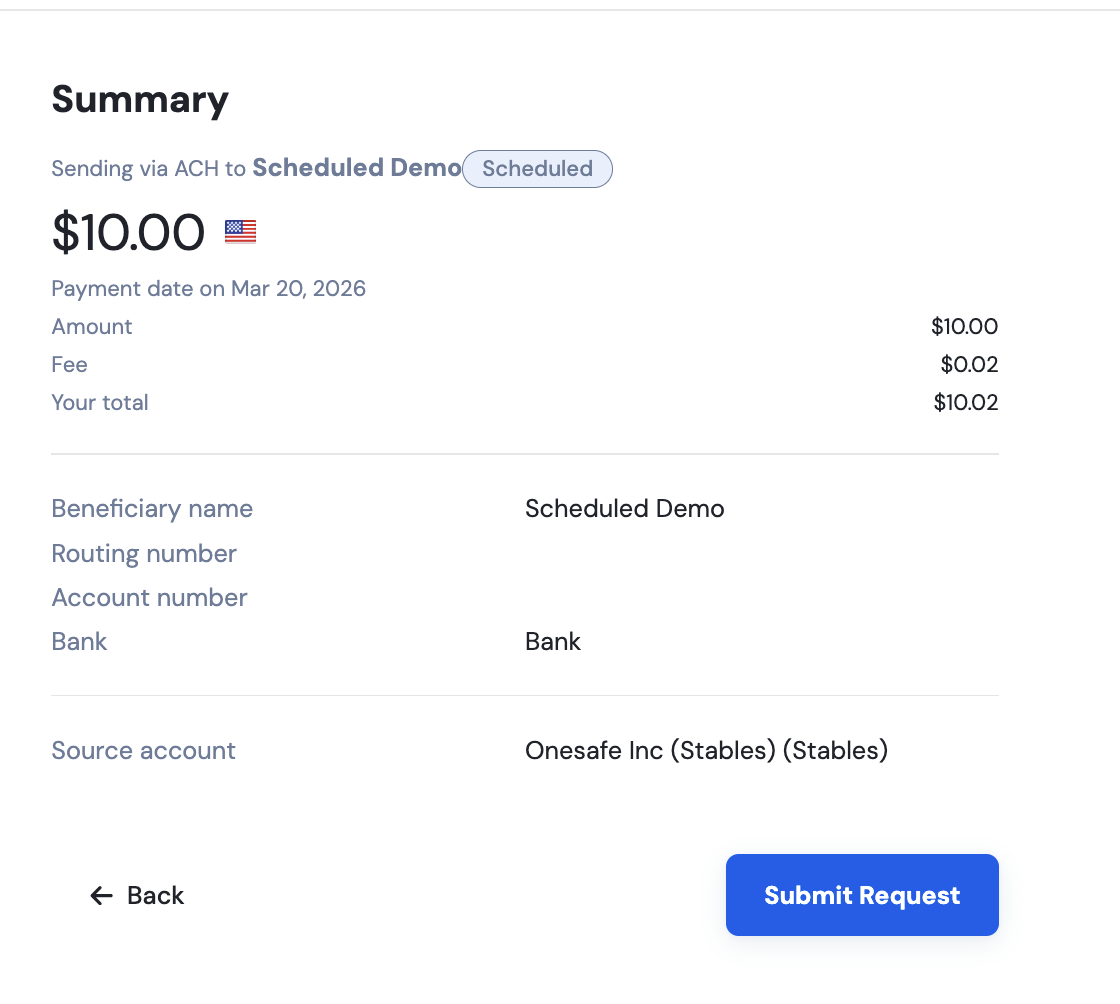
Payment Requesters can schedule payments for approval, or an Admin can schedule payments directly.
Learn more about how teams can initiate payments without expanding approval authority, and how business owners retain full control, in our Roles and Permissions FAQ.
See also: